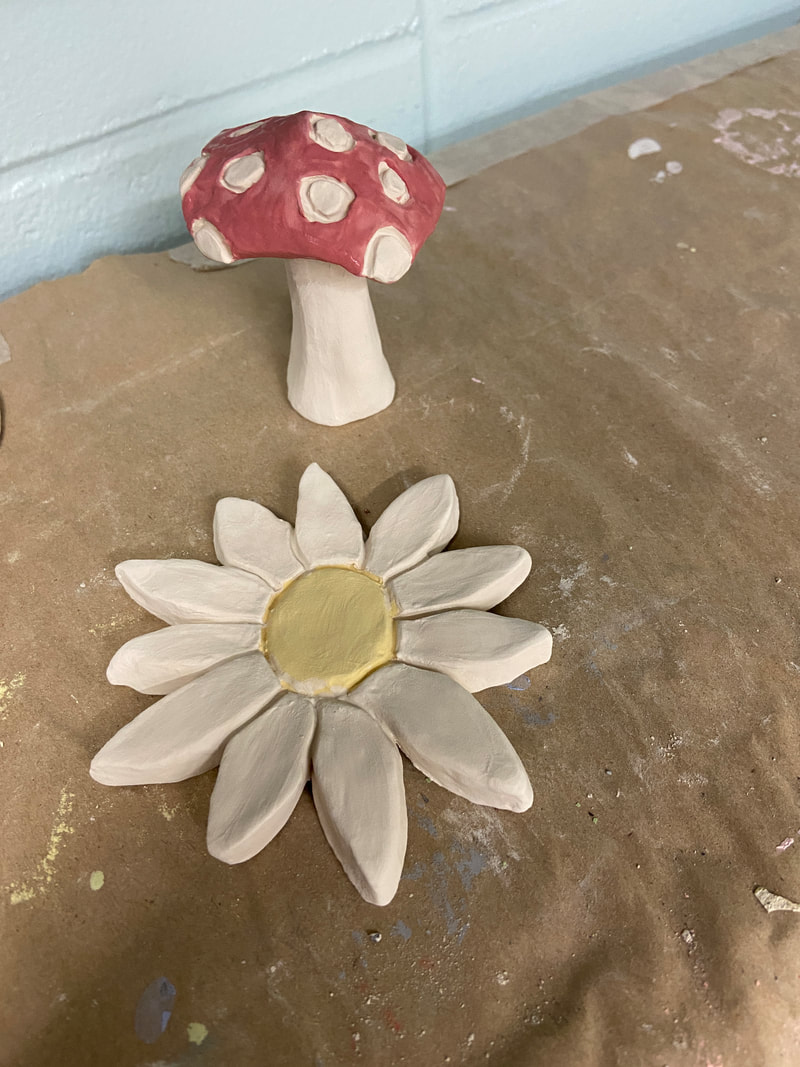
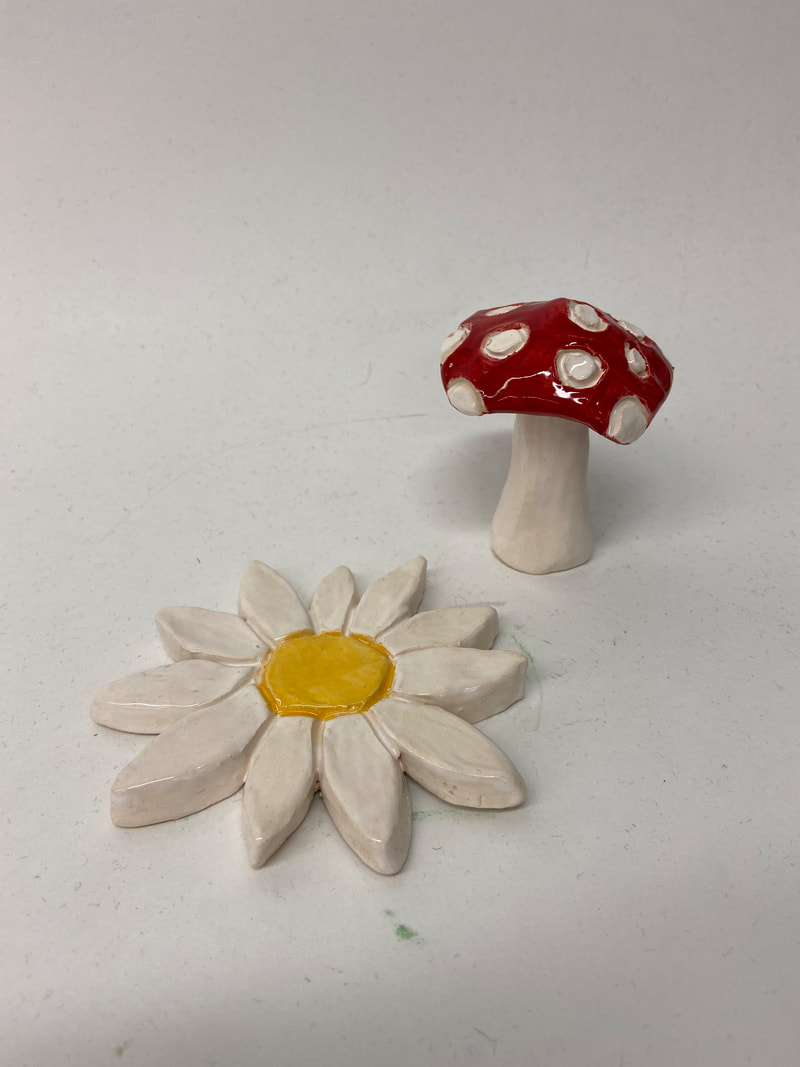
My best artwork was my red and white mushroom and yellow and white daisy. I love the daisy because it symbolizes my gone great uncle. I am going to lay it by his grave. I love he mushroom because it just matches me perfectly. I have an Indie Aesthetic and I will use that mushroom forever. I would like to redo the Artists learn new skills. I loved the skill I chose but the marbling cracked and it looked bad. If it would not have cracked it would have looked awesome. I learned about new artists and how their so different depending on their culture. I also learned that anybody can be an artist. I know I am not the best at art but I know I have potential to do better. I wish we would have done that end of the year scavenger hunt we used to do in middle school. That was always fun. I really enjoyed this class. I have learned a lot and will definitely use it in the future. This class was definitely my favorite. You had so much freedom and free range to make what you wanted and you can express how your feeling or what makes you you.
0 Comments
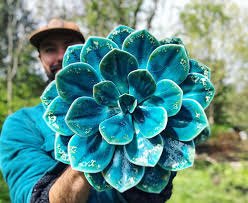
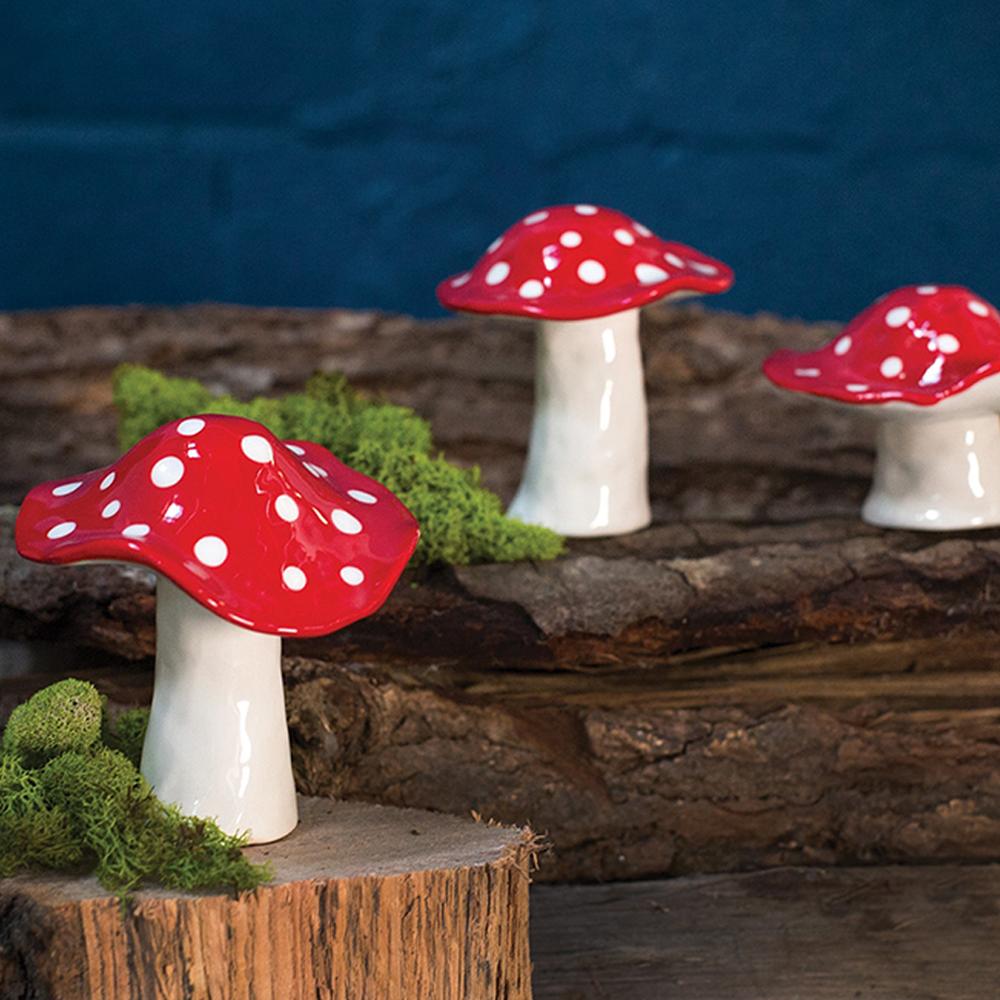
At first when I started to make a sculpture I thought a piece of seaweed would be cool. I loved the little mermaid growing up and I love the ocean. I love big bodies of water and swimming. I thought a piece of seaweed would be meaningful. So I started making it. The galez I used were white and hot tamale and sassy yellow and white. I fired it and a big chunk cracked off. So I thought maybe that is the universe saying I should not make that. So I started making a daisy the size of my palm. Daisy's are my grandpa Herbs favorite flower. He passed away during covid. I would love to make him a daisy and lay it on his grave. I also made a mushroom because that's just my style/personality. I used red and white for the mushroom and yellow and white for the daisy. For this artwork I used Develop a Craft. I have never made a flower or a mushroom so that was a new thing to make. These were practice ones but I think they turned out very great. I also used Express. I expresses feelings in this artwork. My feelings are hidden but the daisy means a lot to me. When my grandpa passed I asked him what his favorite flower was and he told me daisies. I always ask small silly questions to random people that will one day leave because that's what I remember them by. Like my sisters favorite gum is 5 Watermelon so when she's gone I sometimes chew 5 Watermelon if I miss her. It's the little things. Owen Mann has inspired me to make a daisy and a mushroom. He is so good at making clay flowers that I thought I should try it out. He is a very inspiring artist. He makes amazing work and has great technique.
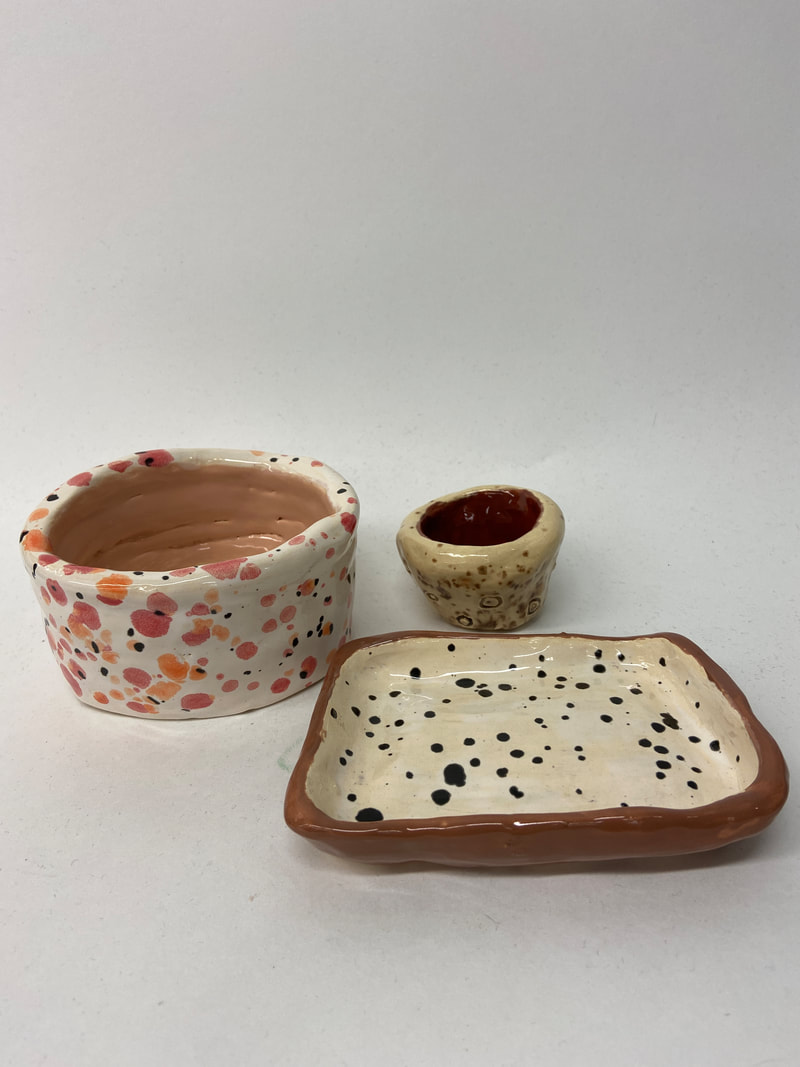
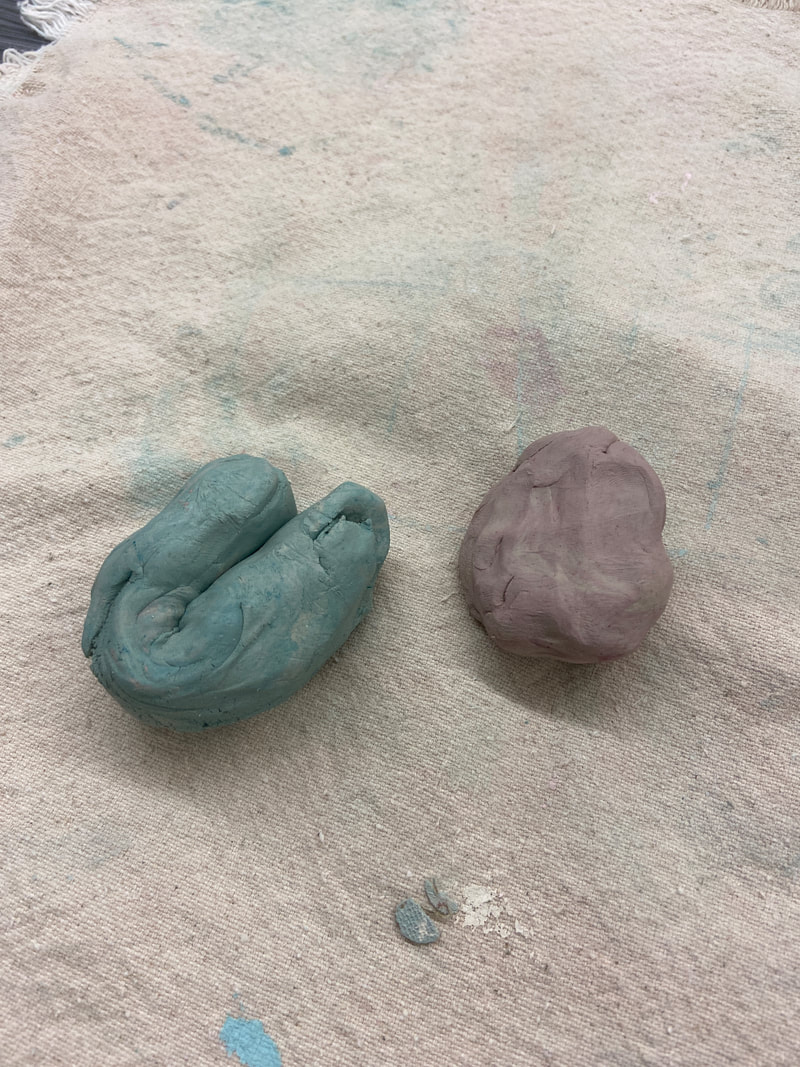
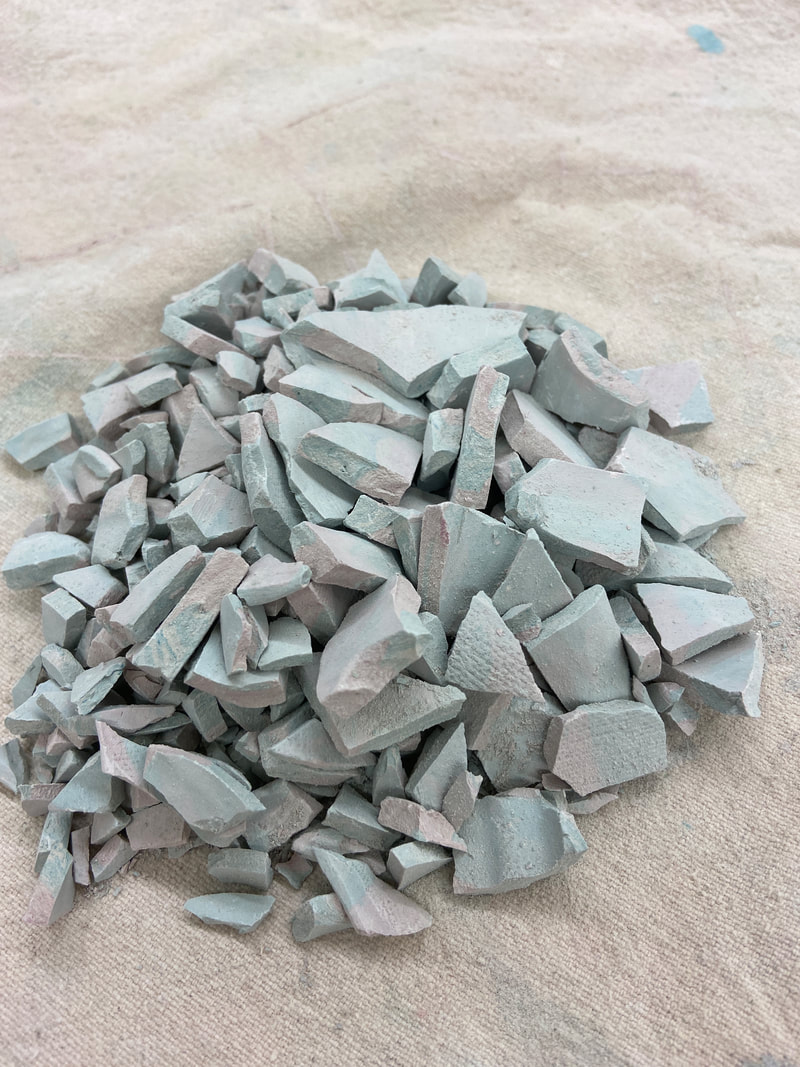
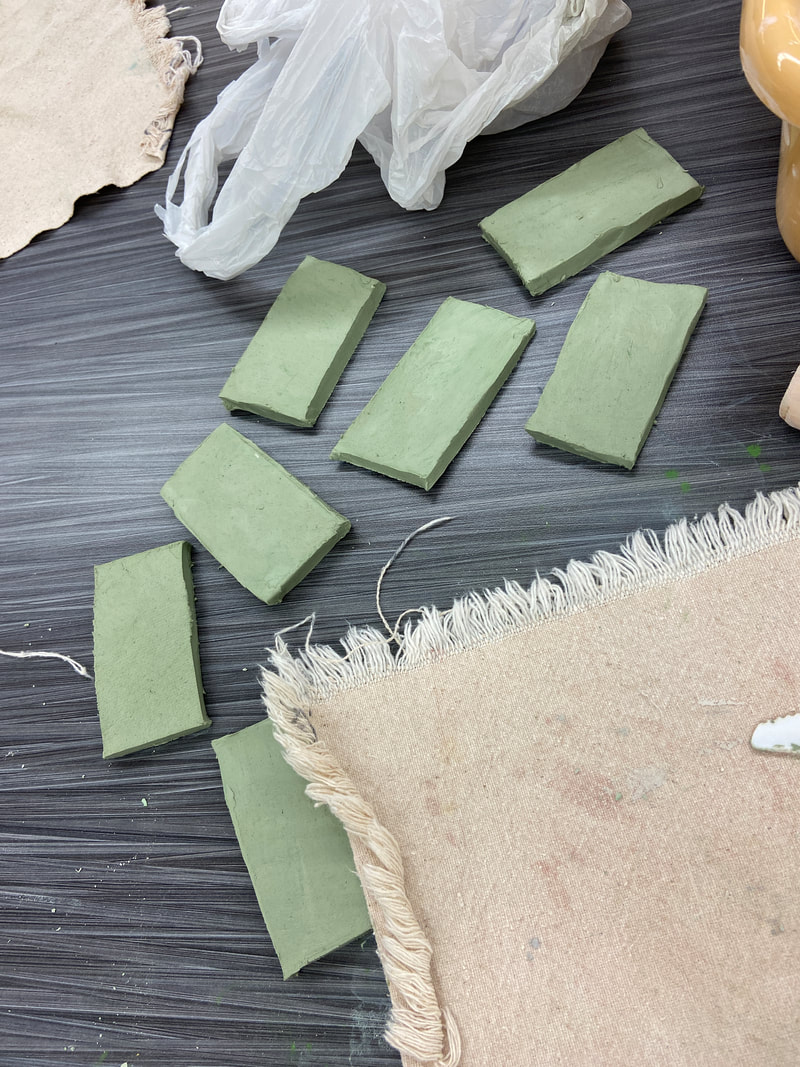
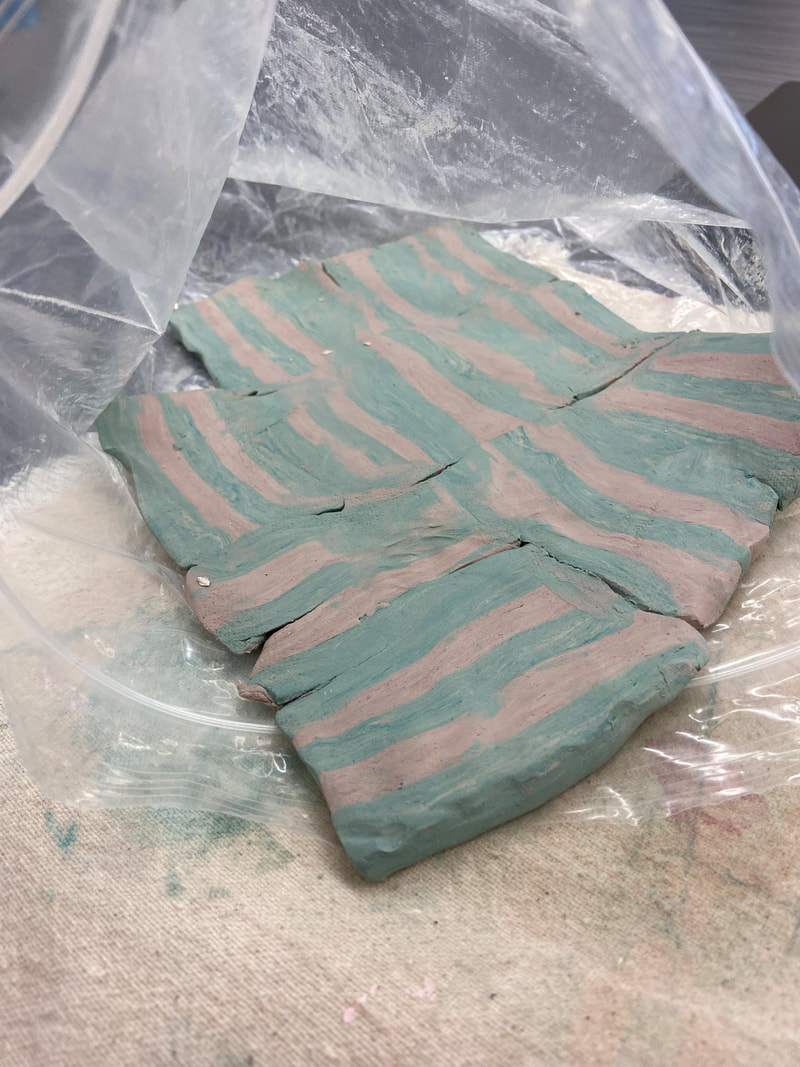
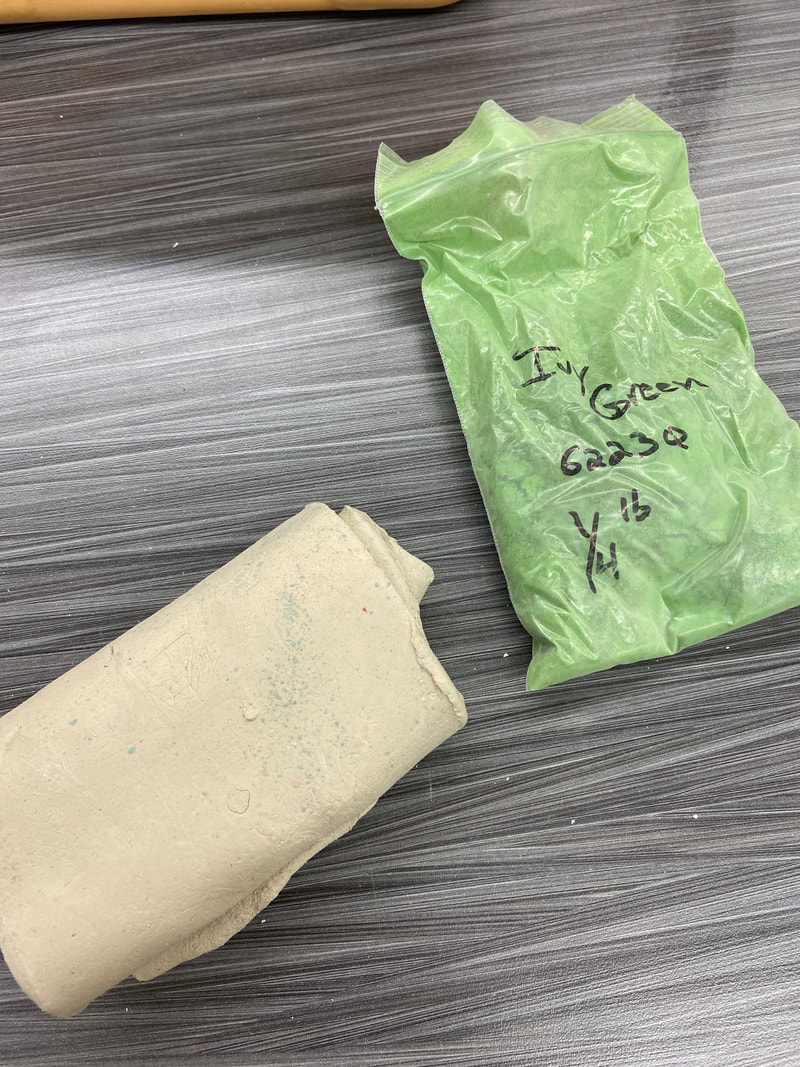
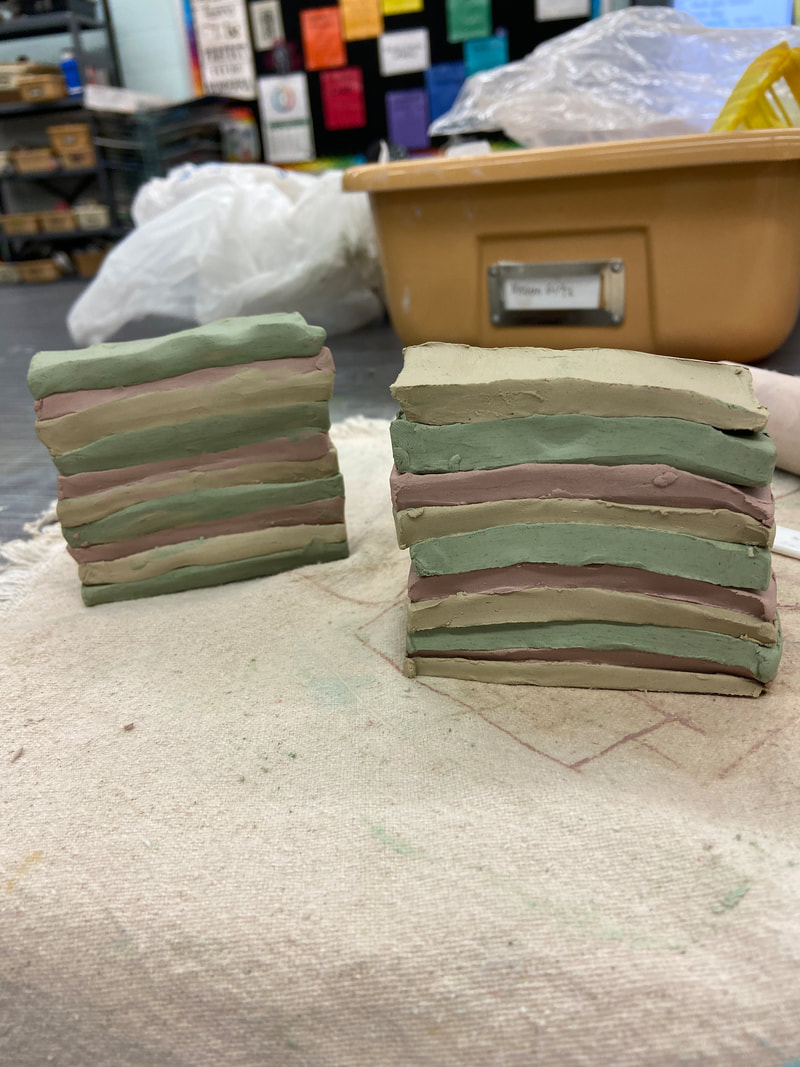
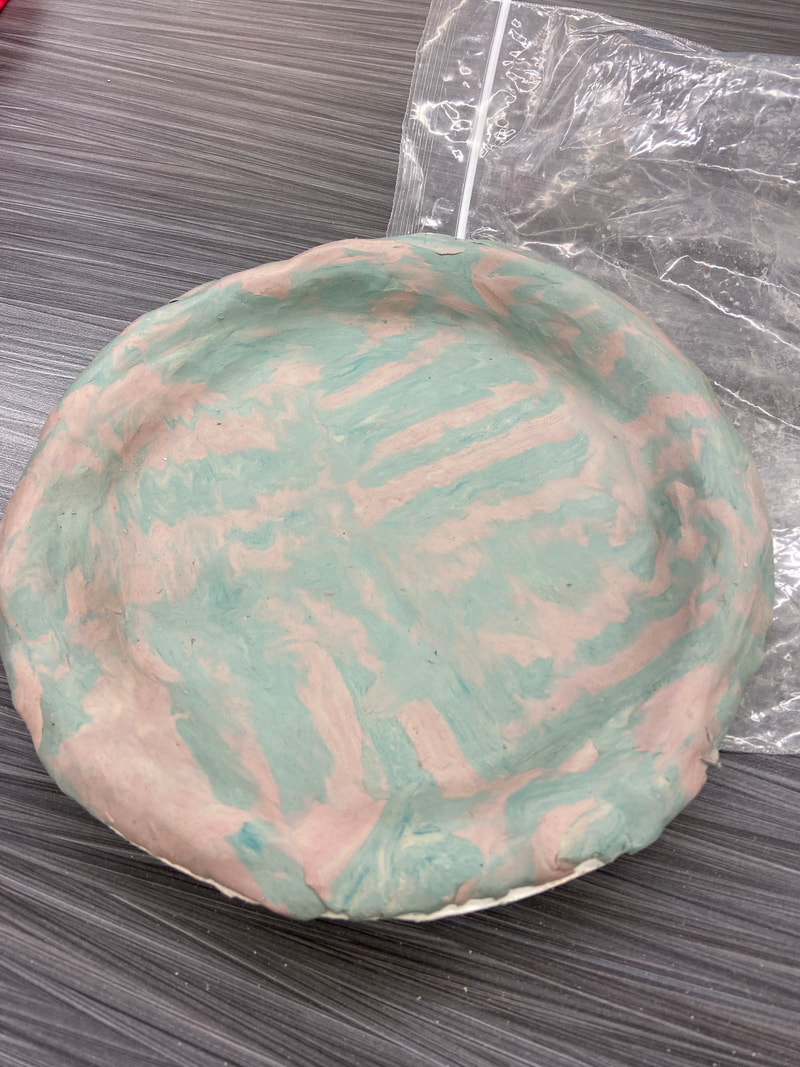
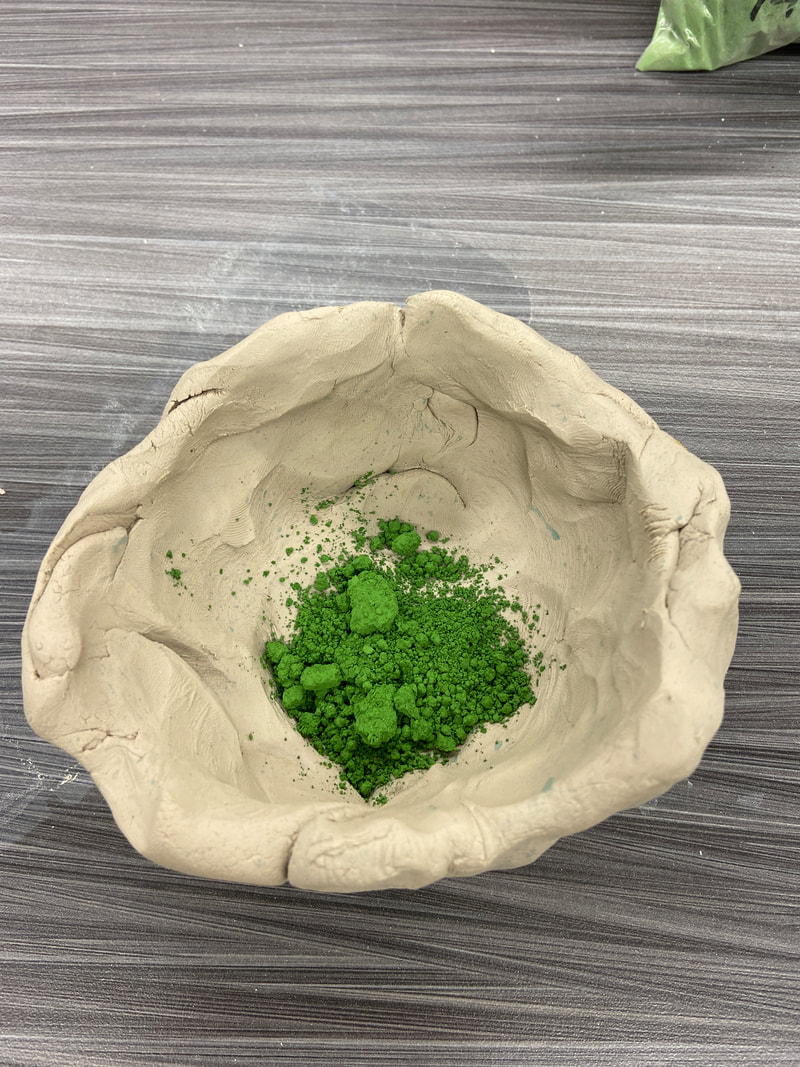
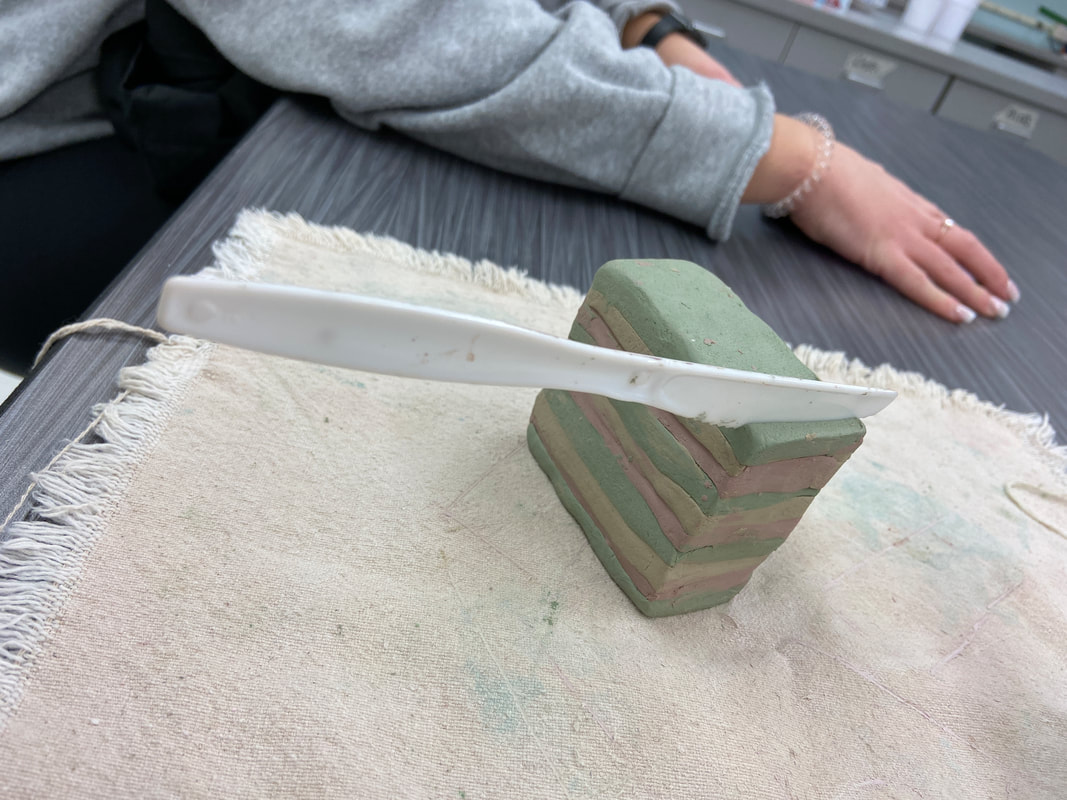
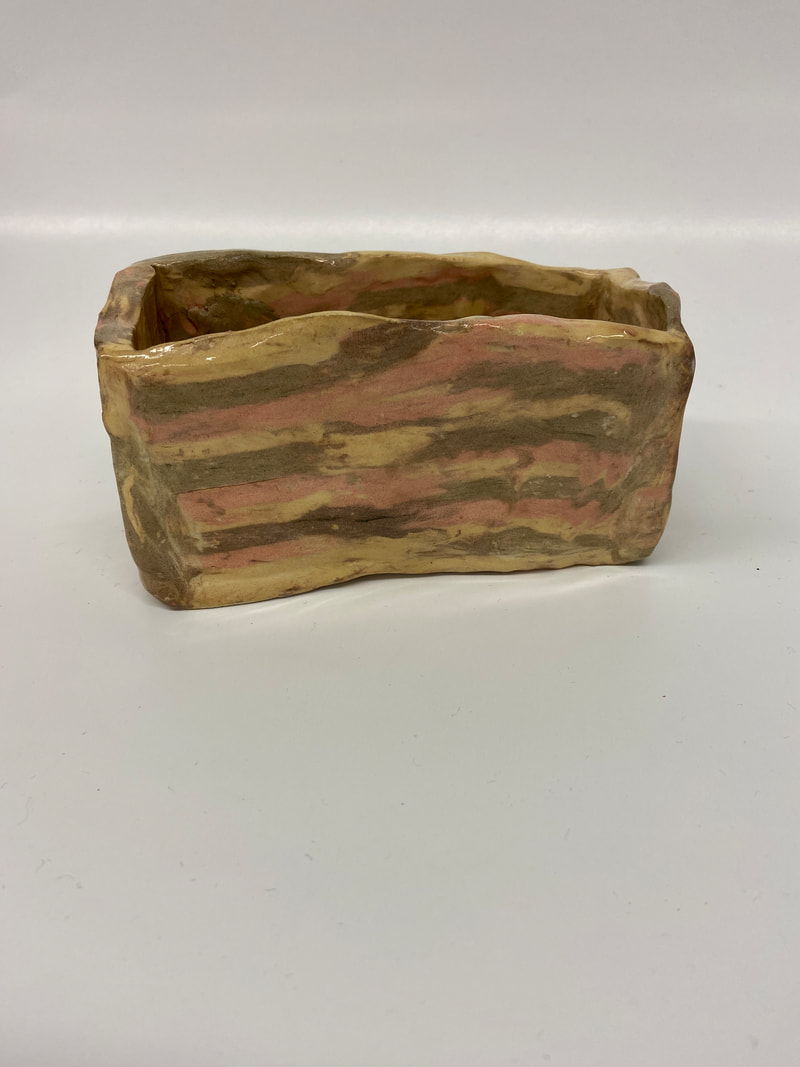
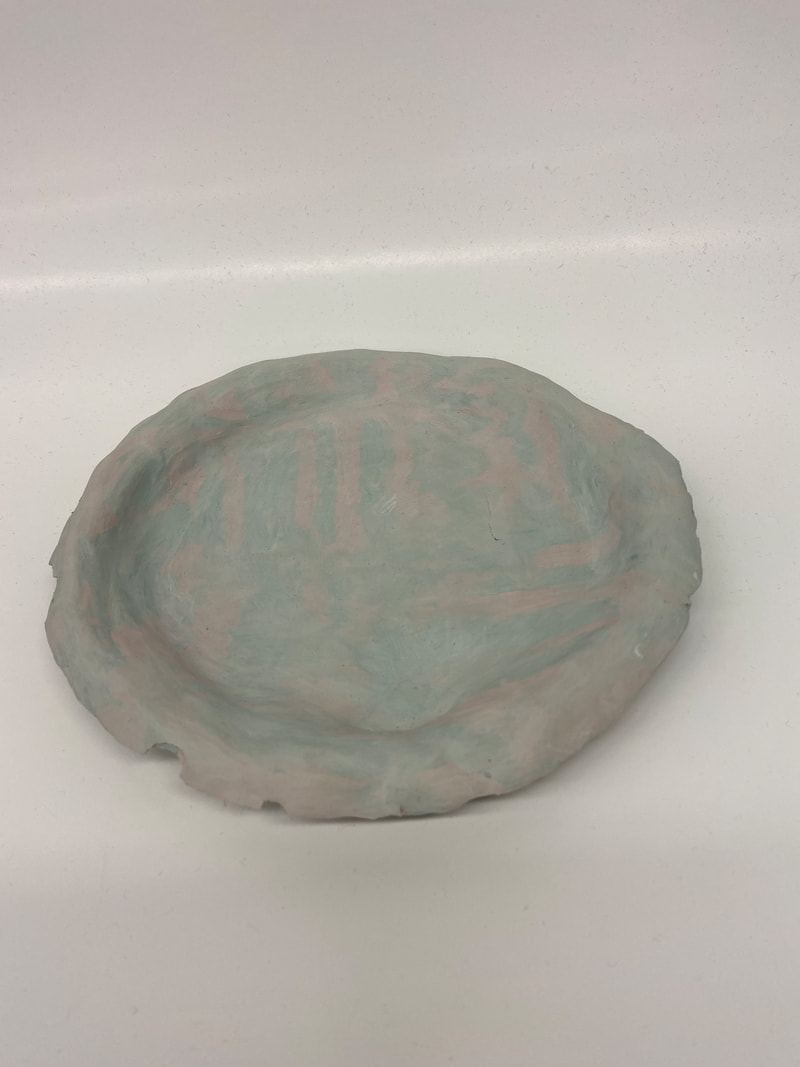
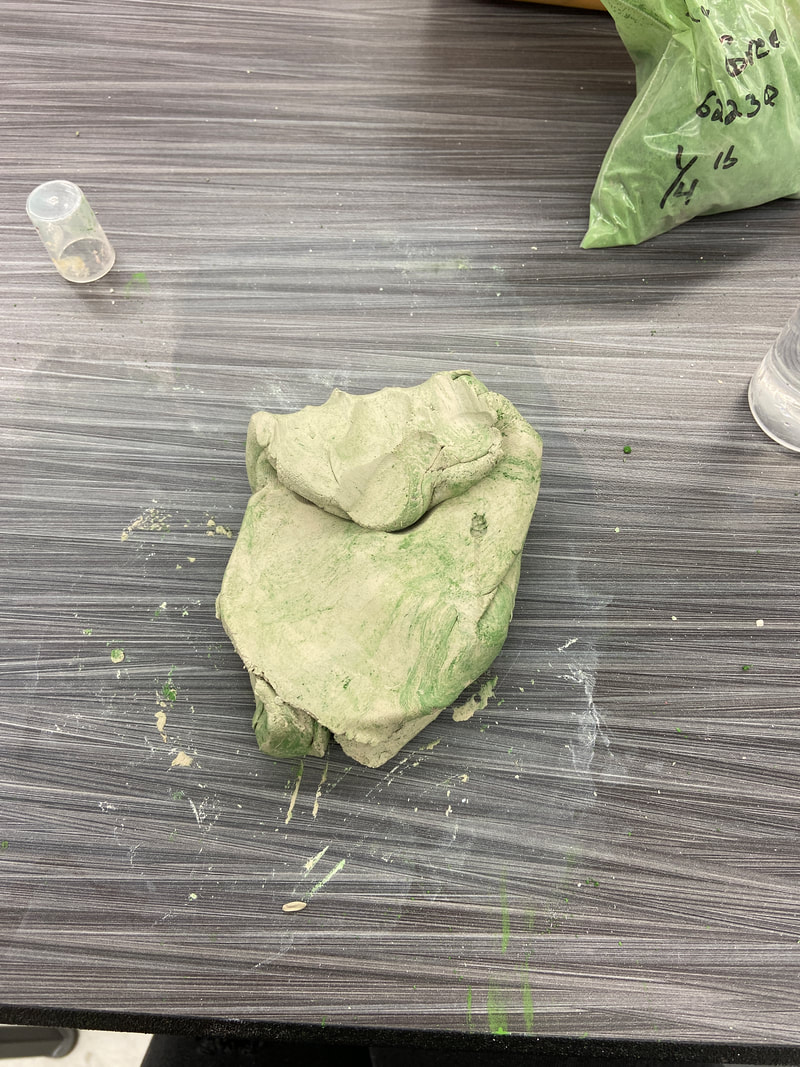
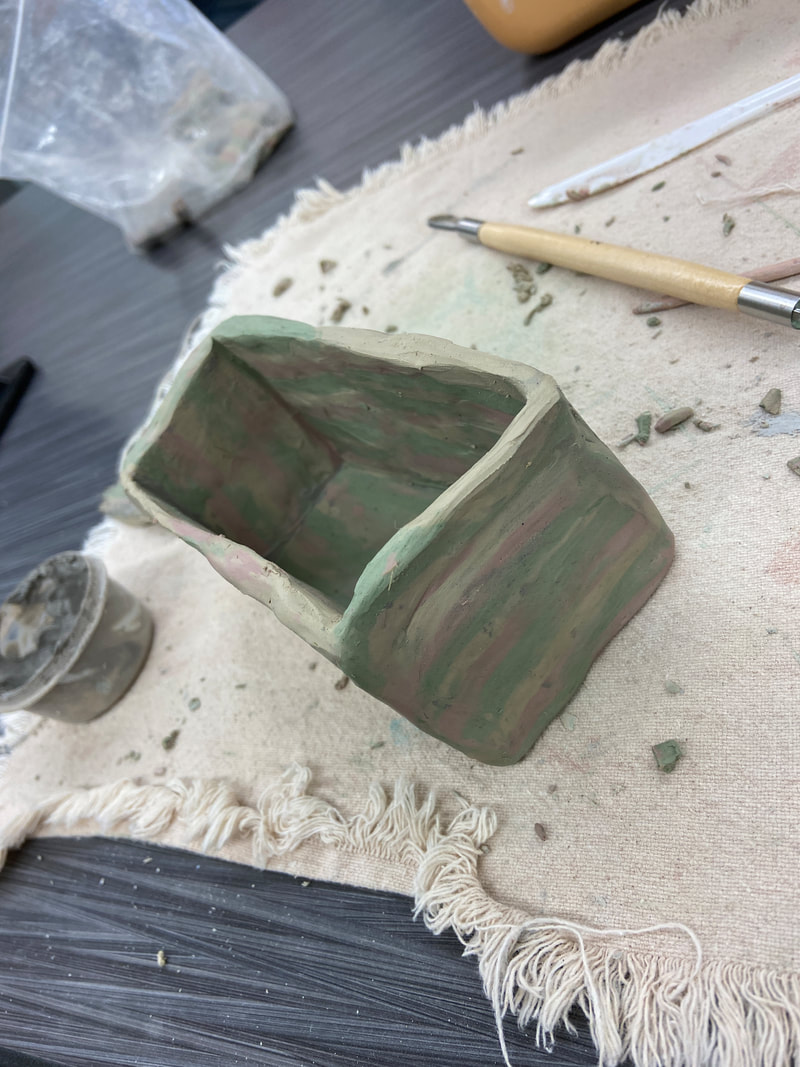
To make my test piece (my plate) I used pink and blue powder. I split my clay in half and made mini pinch pots and kneaded the powder through my clay. I then separated the colors and made mini rectangles with my butterknife. I used those mini rectangles to stack them up on top of eachother, every other color. I cut them so the clay looked striped. I then set the colors together so the colors did not line up with each other. I used a paper plate to form my plate. I let it dry for a few days but it ended up cracking and not being very smooth. I took my mini carver tool and carved out the outside part. It ended up cracking and breaking so we just put a piece in the kiln to see the pattern and how it would turn out. I then attempted to make a slab box with green red and yellow powder. I did the same techniques as I did on the plate. I used my colored powder and split my clay in half. I then made mini pinch pots to get the color evenly throughout the clay. I then separated the two colors that I kneaded and made mini rectangles with the butterknife and made them as even as possible. I then stacked up the colored rectangles every other color. I cut them a certain way so the clay looked striped. You want to make sure your colors don't line up so it looks more crazy. I then slip and scored the boxes together to make a mini rectangle slab box. Mrs. Underhill and I then set it in the kiln. It ended up cracking so we are going to see how it turns out. This technique made me look up to artists a lot more because it was way harder than I thought. You have to have a lot of patience. I do not think I could make pieces like this for a living. Throughout this artwork I realized how hard making art actually is. I always thought that artists had it so easy cause they just sat there making art but I realized a lot. I realized that artists work hard to express their emotion and express their likings. I realize how hard it is to come up with ideas all the time to keep people satisfied. I never thought being an artist would be hard but I realize now that it takes a lot of creativity to be an artist.
Materials: white clay, colored powder, Butter knife, clay cutter wire thingy, the paper plate, and a loop tool.
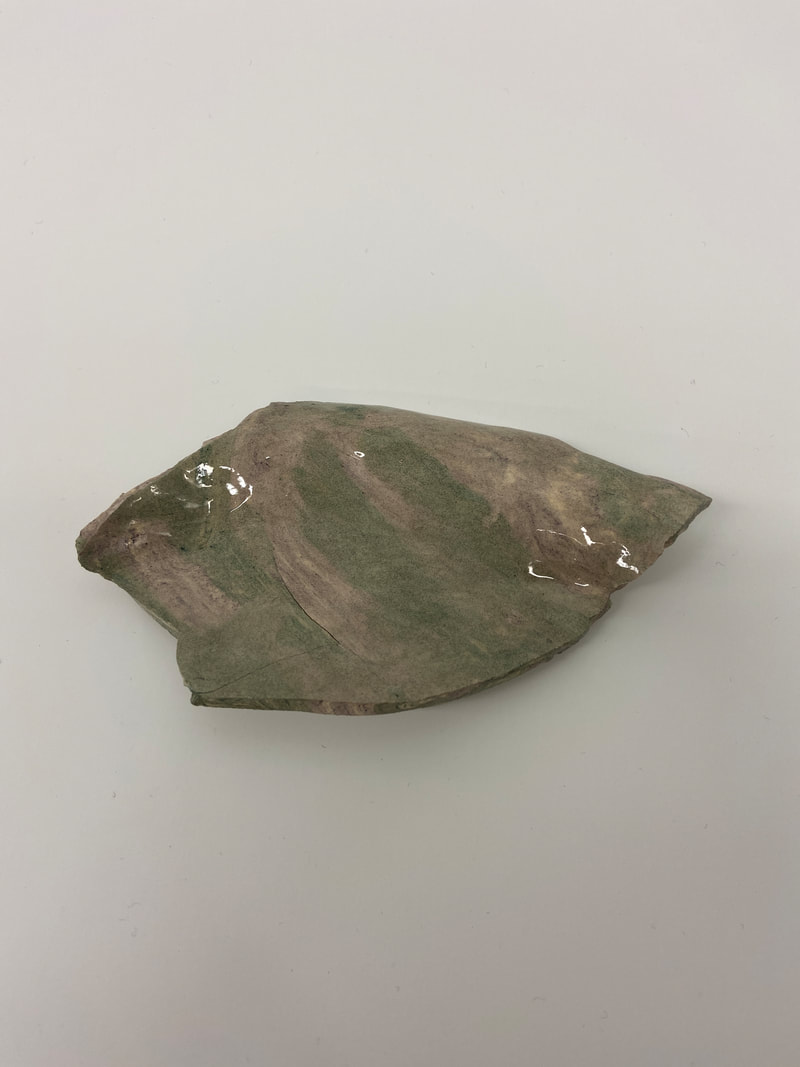
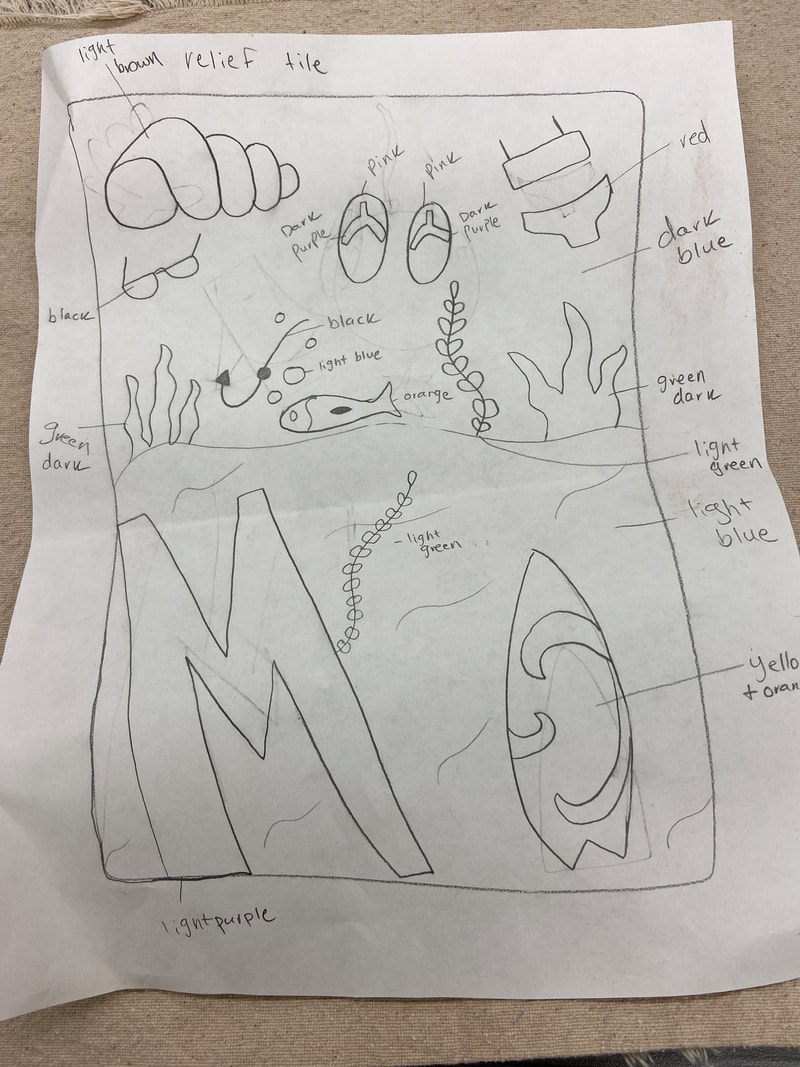
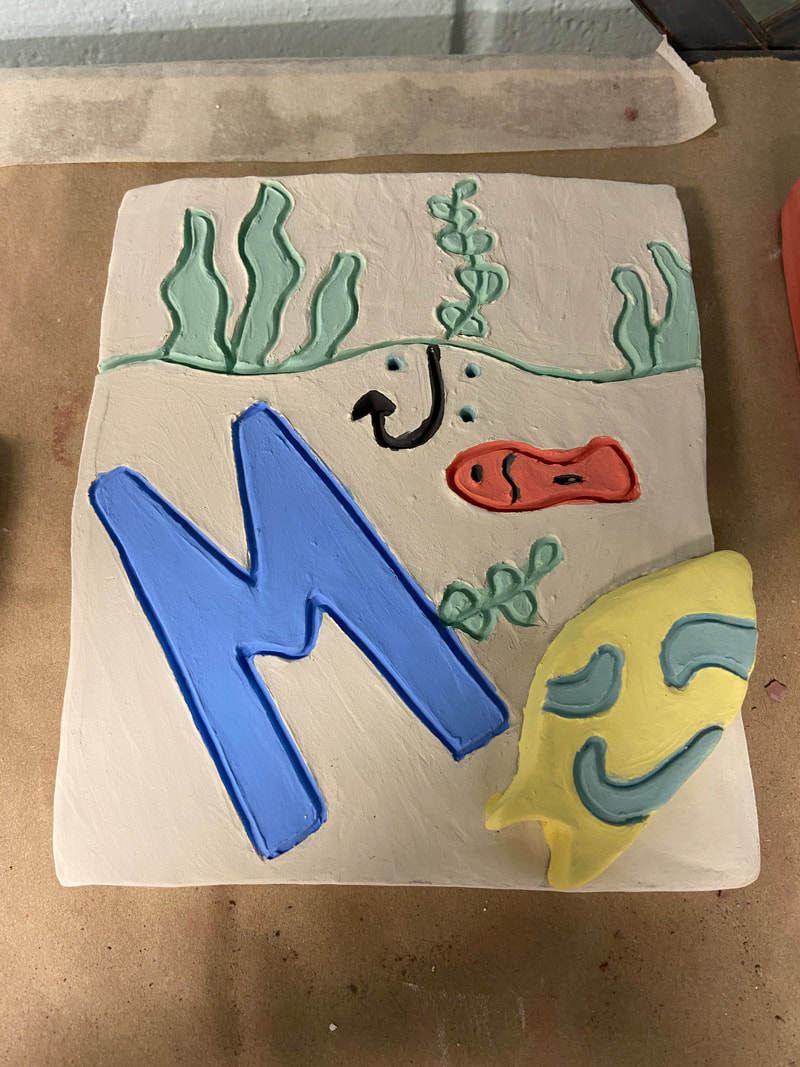
For my relief tile I wanted to portray what makes me the happiest and that includes the lake. I made seaweed with a fish and a hook with bubbles. I also added an M with a seaweed coming out of the side. I also added a surfboard with slip and score. I also added a shiny glaze on the top. I really like how this turned out. I think it looks neat and cool. I used the studio habit called envision. I sketched out all my ideas on what I wanted it to look like. if I had a bit bigger relief tile I would have added more but I did not have much space to work with. I also used Develop a craft by trying something I have never tried before. It was something new and simple. i ended up liking it a lot. This is one of my favorite artworks. I used my carving tool and wooden pointy tool to carve out and make my designs.
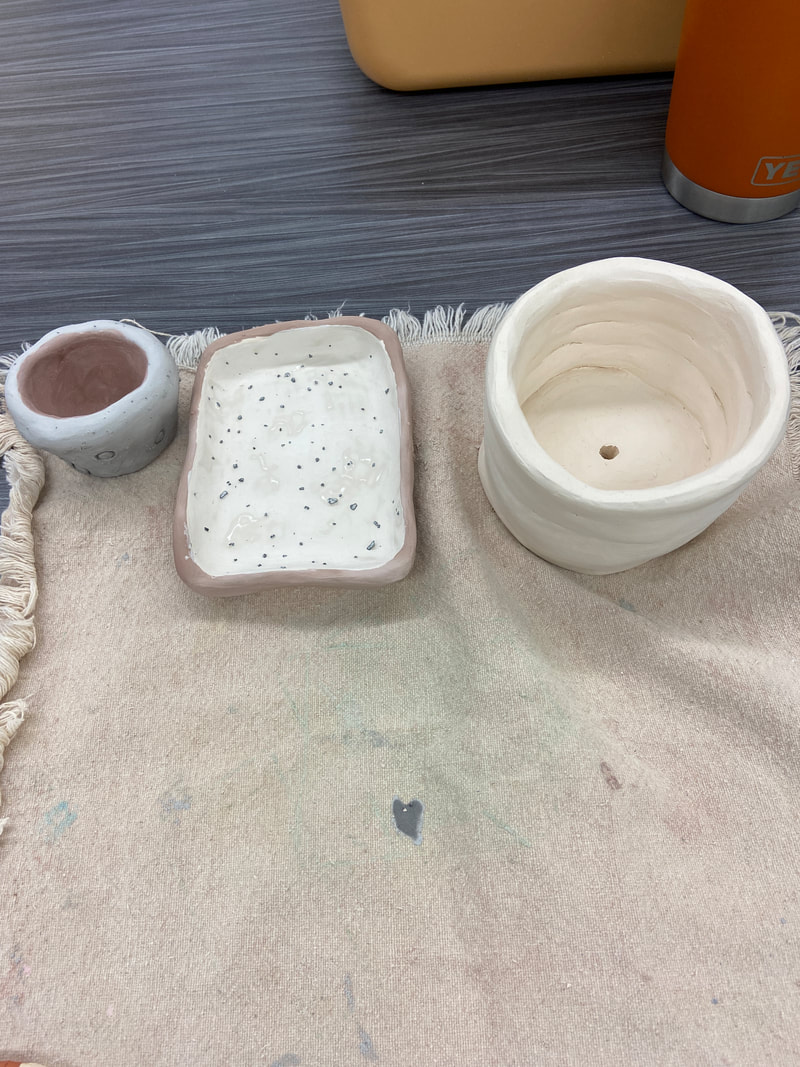
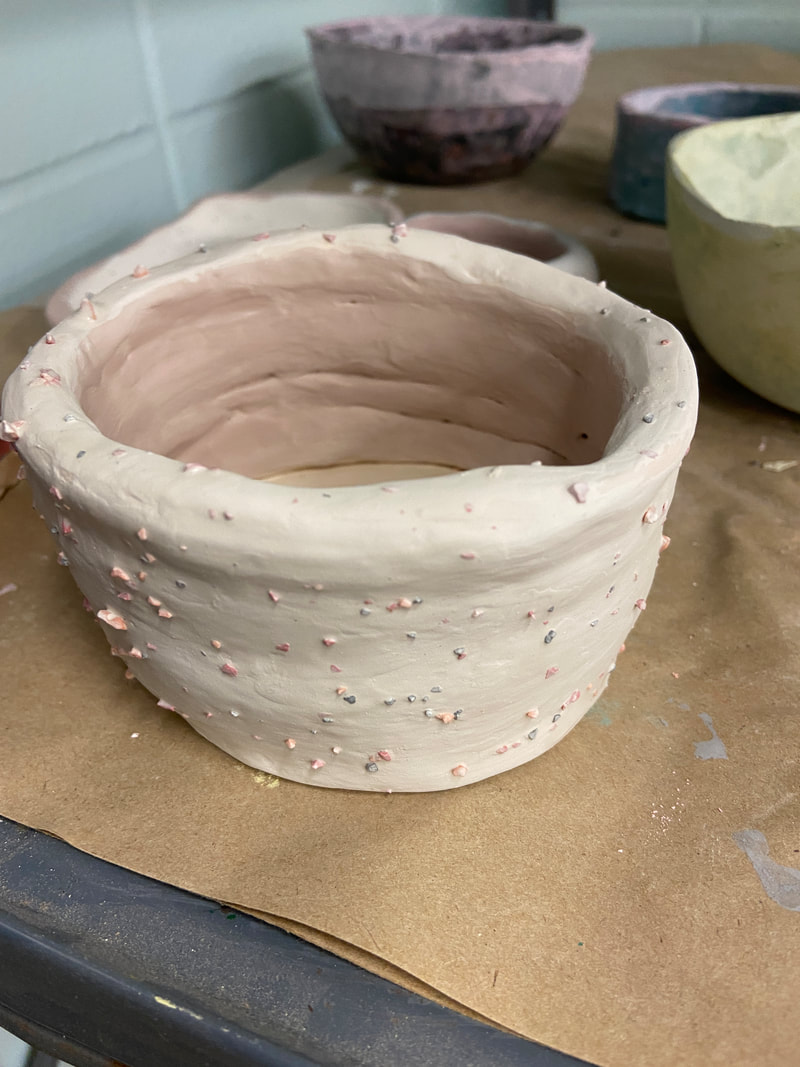
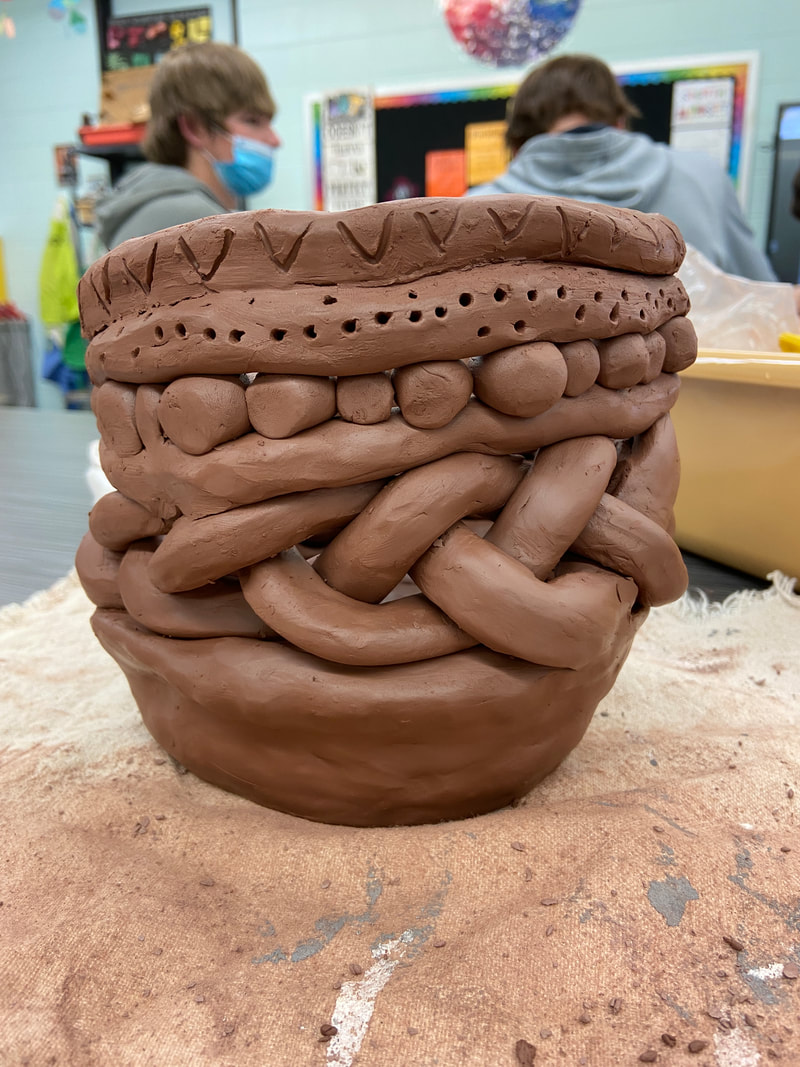
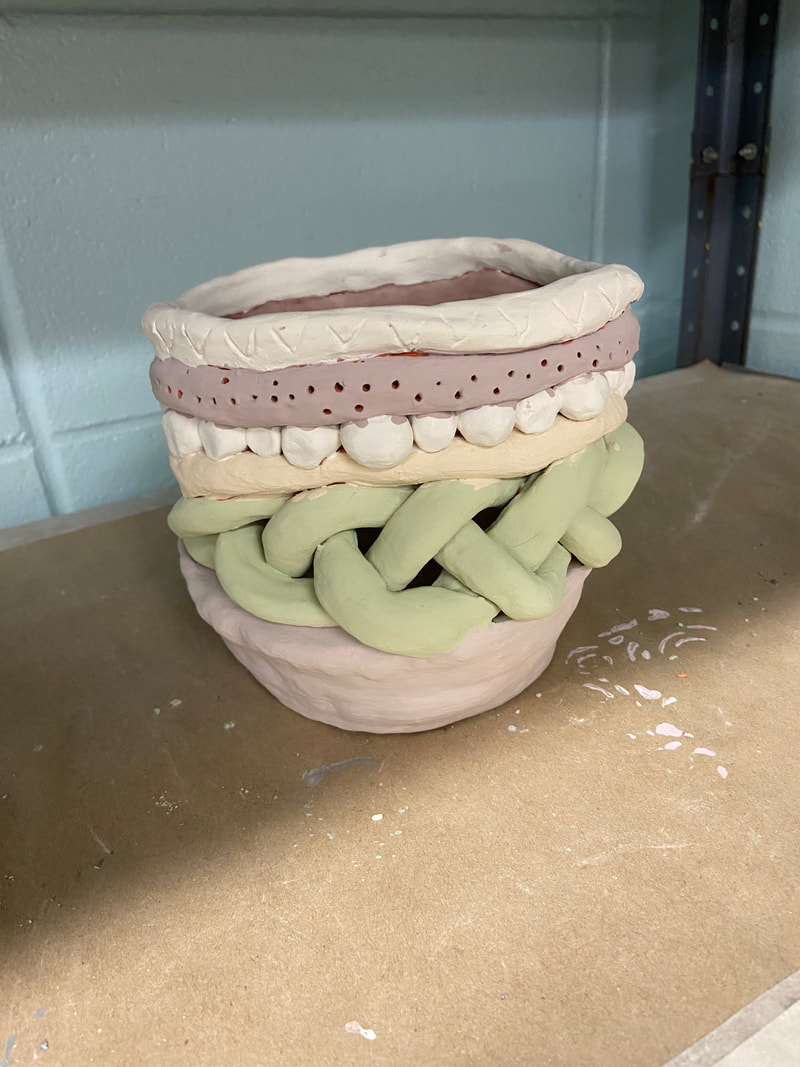
To make my coil vessel I rolled out a bunch of coils, balls, and a big braid to stack up on top of eachother. I had to make it a certain height so I made sure I did that. I don't mind how it turned out. I wish I would have put more layers of glaze on it. It definitely is not my favorite pot but I think it's pretty cool still. I used tan, white, brown cow, dark green, chocolate, and maple. For the studio habits I used Develop a craft and Observe. I learned how to make a clay braid and I also learned how to get rid of all the clay boogers. It was a challenge to glaze the parts that were hard to reach. The cracks and in between the braid was very challenging. I observed my art by perfecting my imperfections. I looked closely and realized my clay balls were not slip and scored to the coils. I got worried about them popping out but the glaze held everything together. My biggest challenge was definitely glazing in between all the different techniques.
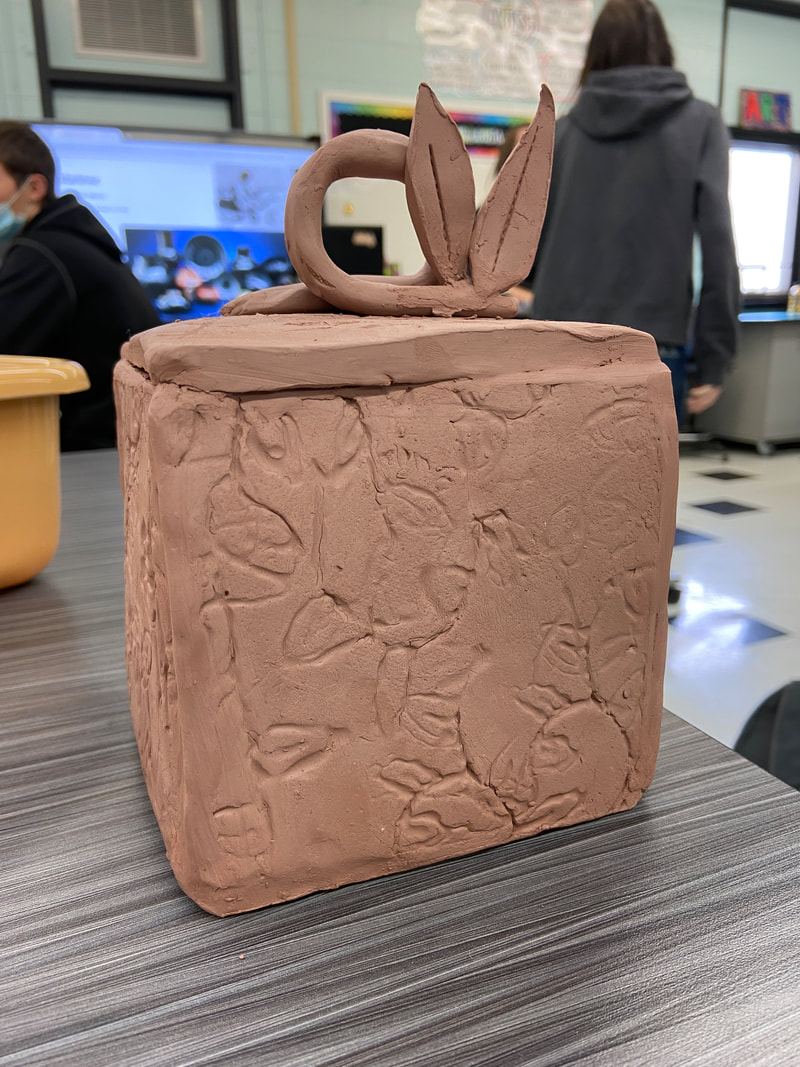
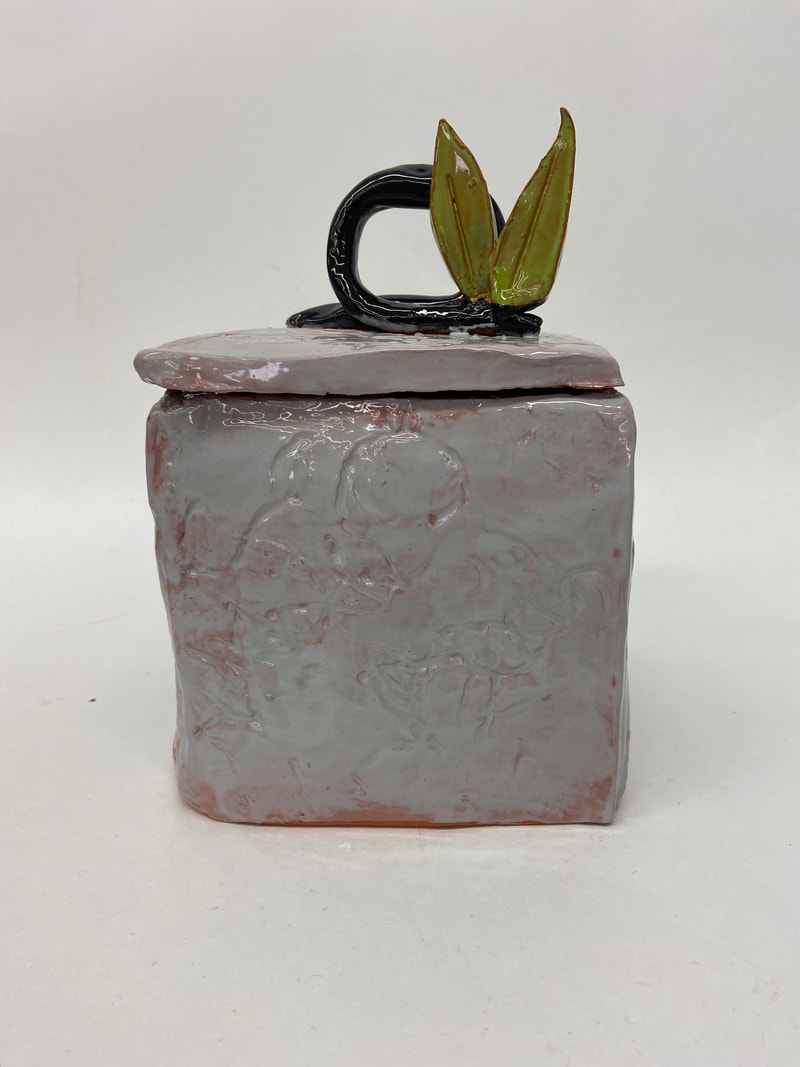
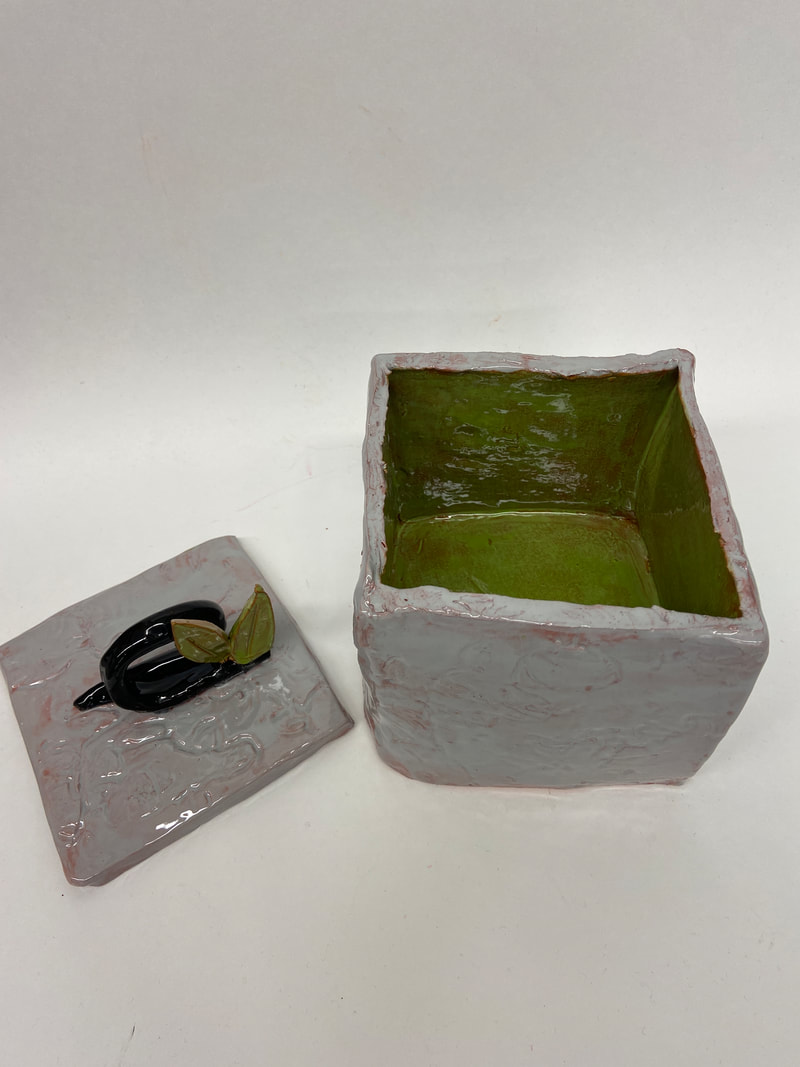
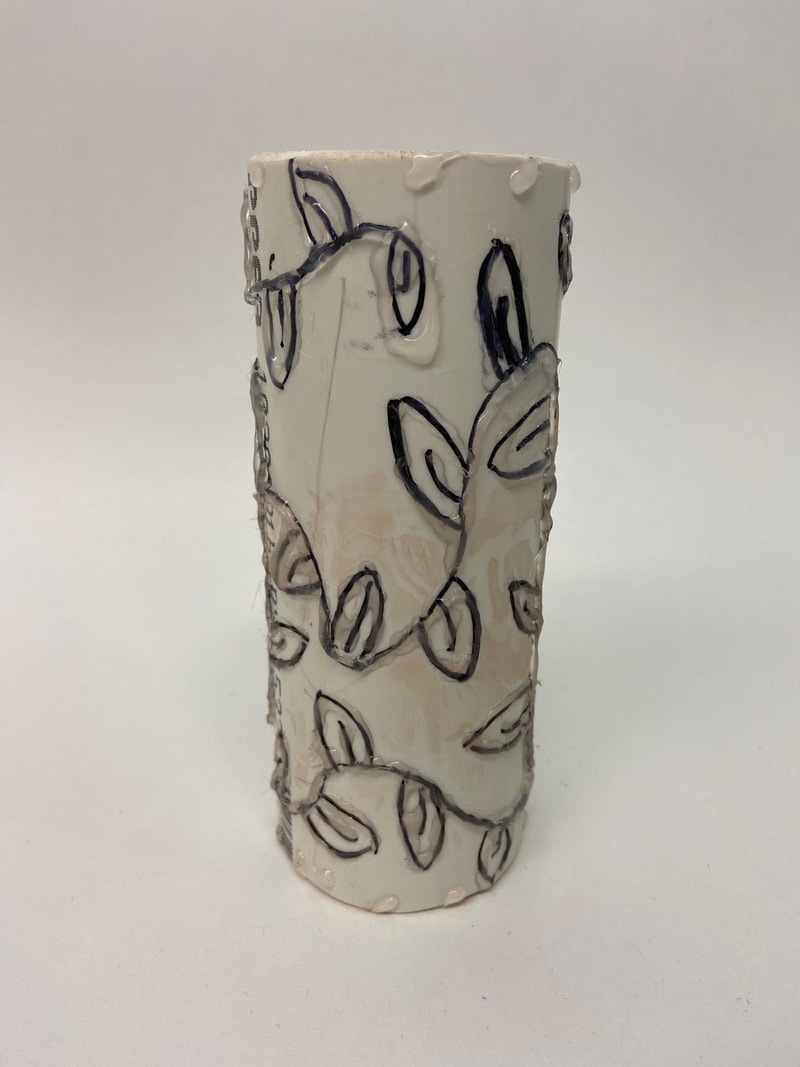
For this slab box I used the glazes called new leaf, gray, and black. I used my texture roller to make the design on the side. I then rolled clay into a coil and then created leaves to attach it on top of. I used develop and craft by using my roller I made to develop the theme on the clay. I also used the tools in my yellow bag to cut the top off and I used slip and score to attach the slabs and leaves. I used reflet in this blog to show how I made my art. I am not happy how I glazed it because I should have done more coats but I was leaving for vacation and had to get it done in time. I wish I would have cut out a cool design but it was too late by the time it dried and the clay set. I really like how the coil and leaves turned out though thanks to the help from Mrs. Underhill. Overall I am happy how it turned out.
I first got a PVC pipe from the box and sketched out a pattern in my notebook. I knew what I wanted to do right away which was leaves. I grabbed a sharpie and made vines/leaves all over my pipe. I then hooked up a hot glue gun and started tracing my patter. I let it dry and I now use it on my wet clay. I used Engage and Persist. I used this because when the glue got everywhere I chose to embrace it by having more texture on my pole. It would give it a bit more character I thought. It also forced me to focus more. I used observe by seeing what spots didn't have enough leaves and which spots had too many. I tried my best to balance it all out with just enough leaves around the pole.
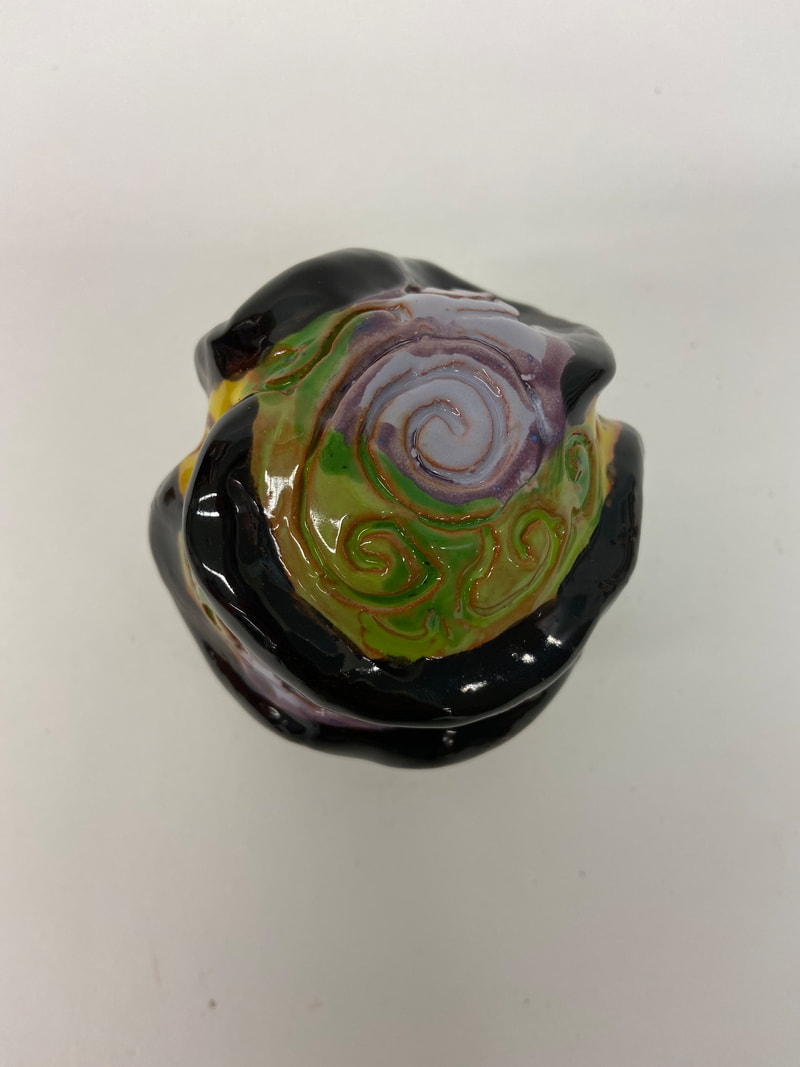
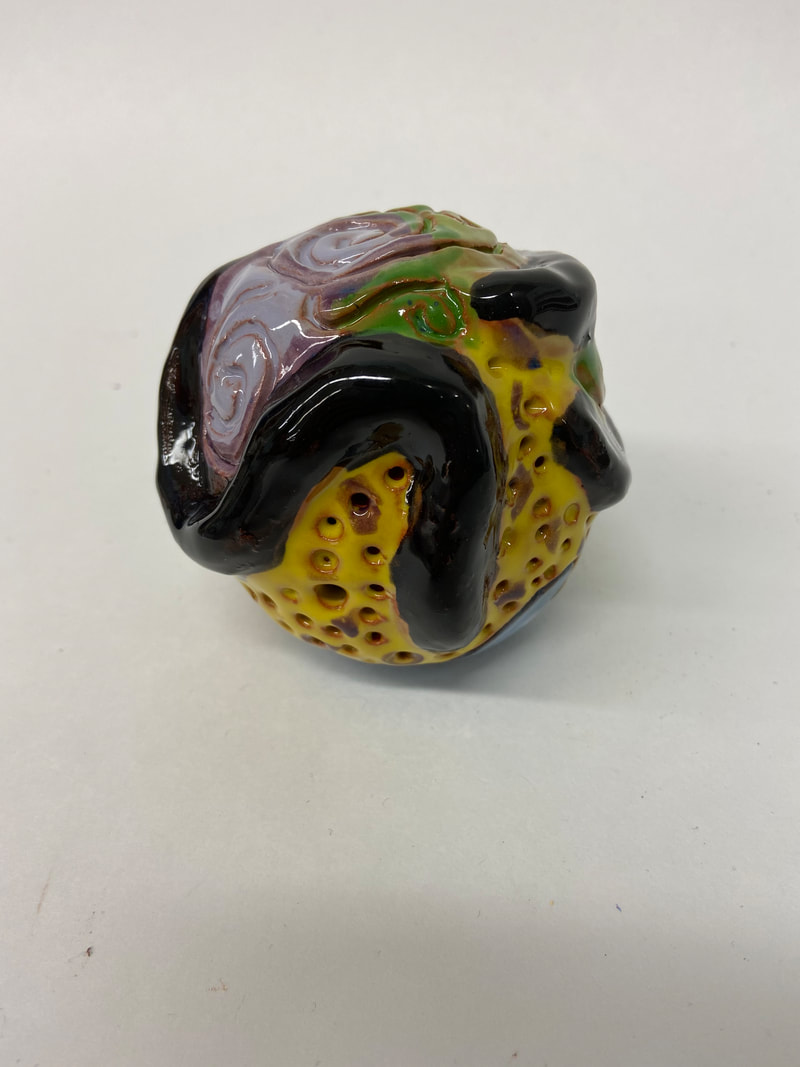
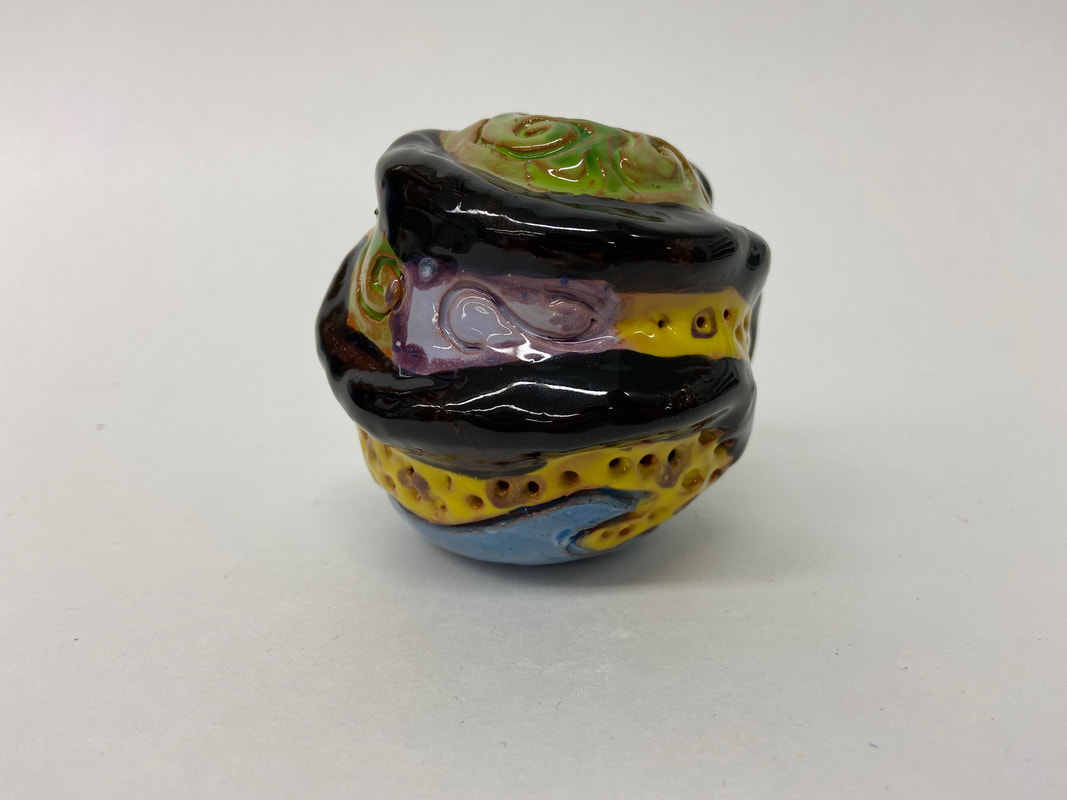
For my ceramic sphere I used the glazes I had left over from my pinch pots so I did not have to waste any of them. I used New Leaf, Sassy Yellow, Plum Jelly, Lilac, Black, and Dutch Blue. I really enjoyed making these spheres. First I had to for a ball in my hands that was pretty close to perfect. Then, I had to put a hole straight through the whole sphere so it would not blow up in the kiln. I then made swirls on it. I also dotted holes all over it. Finally, I attached more clay to make it look like it is moving. One of the art rules I used were Develop a craft. I made something I have never made before. I used tools I have never used before and learned how to work them. I also used reflect by talking about the process I went through to make the sphere.
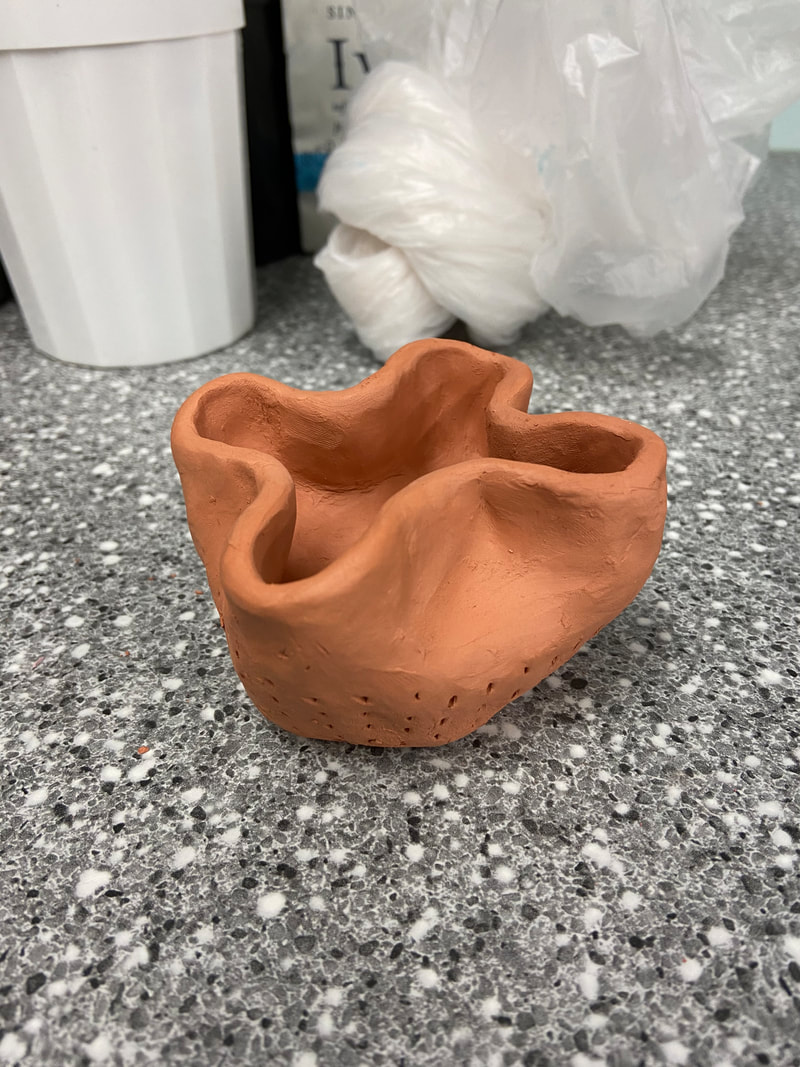
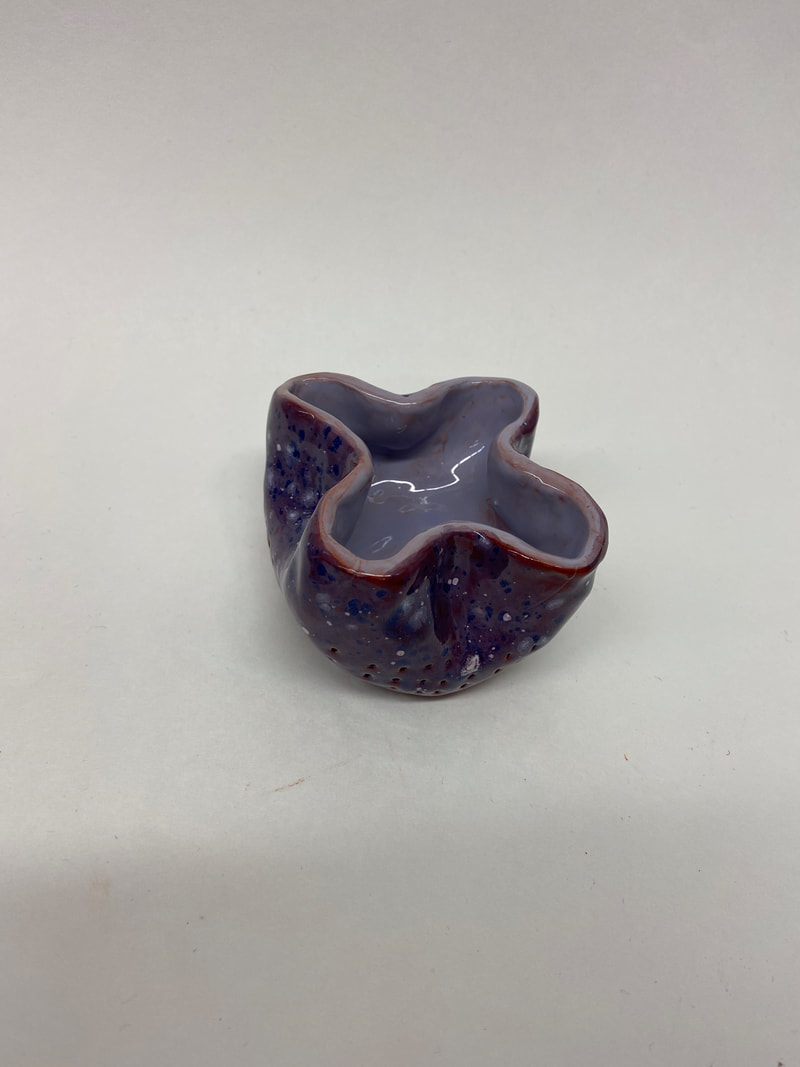
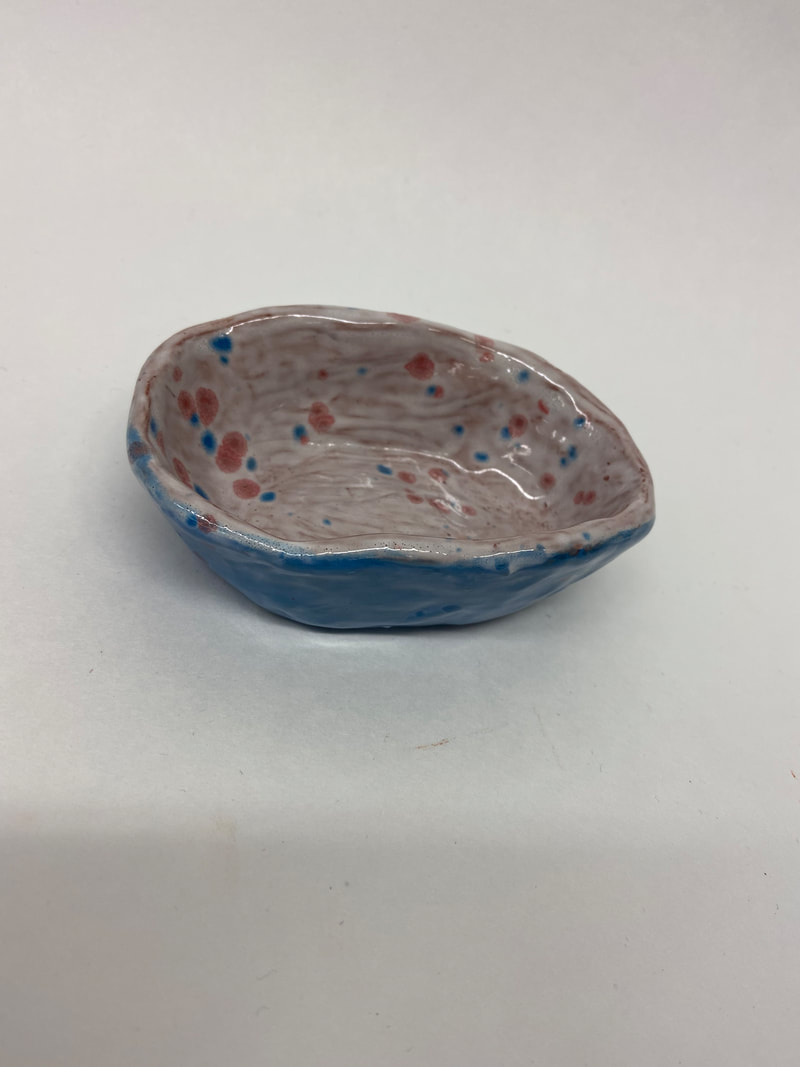
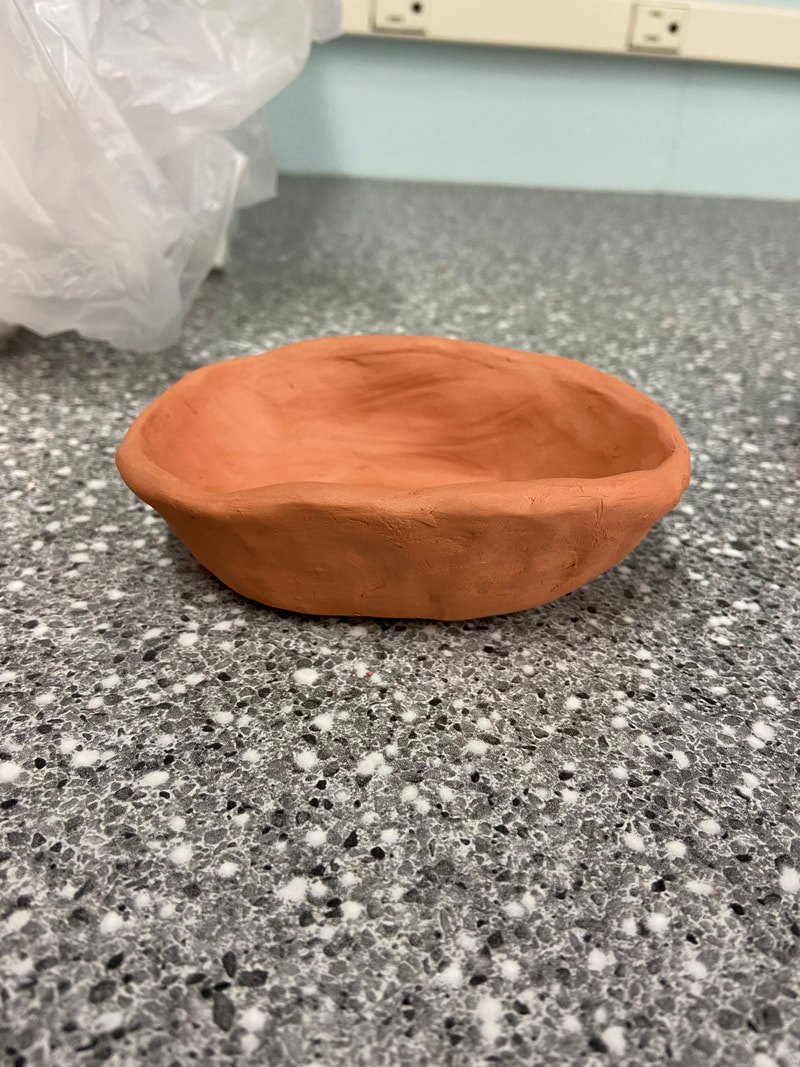
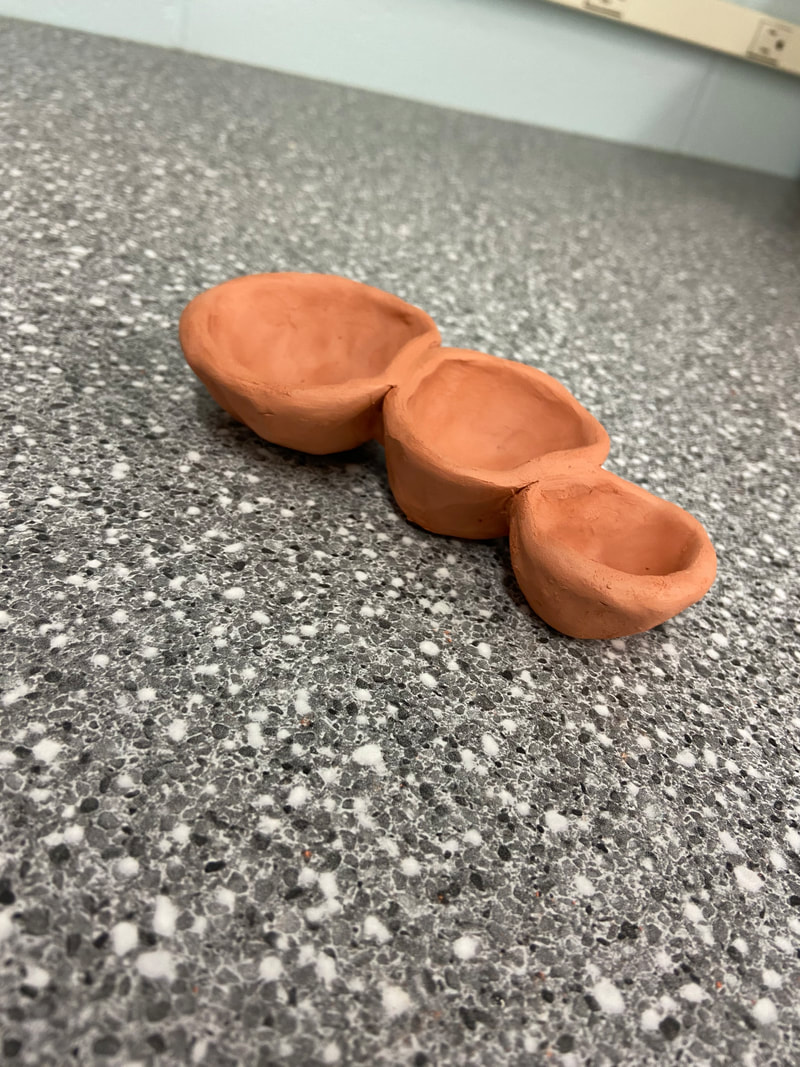
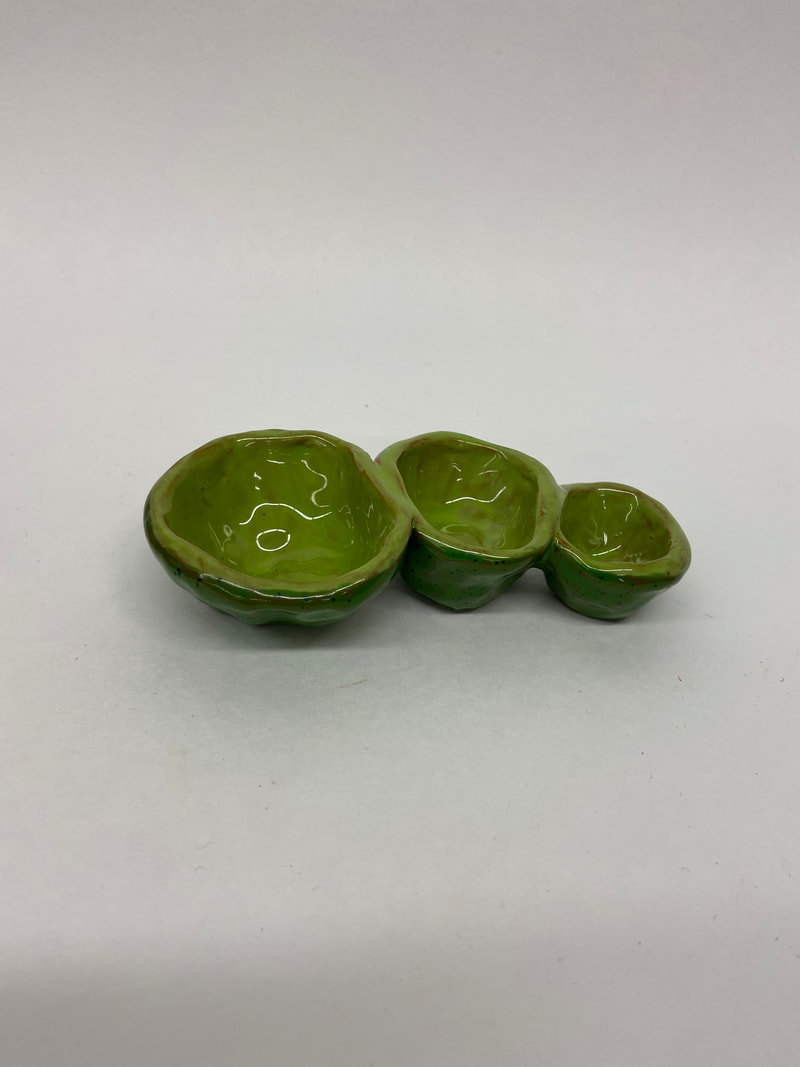
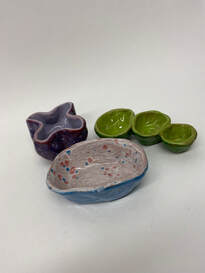 For my purple flower pot I used Plum Jelly and Lilac glazes. I put Plum Jelly on the outside and Lilac in the inside. For my bowl I used Dutch Blue on the outside and Kaboom on the inside. For my pea pod pot I used Spotted Kiwi and New Leaf. I used a color burst on each of my pots to spice it up a bit. I used the studio habit called Observe. I observed other peoples work and colors they chose to find the one I liked the best. I looked at Mrs.Underhills work and different pots she had made earlier to see what kind of techniques I wanted to try and use. I also used express as a studio habit. I expressed my love for colors and variety of colors. I showed that on how many color bursts I used and what glazes I all showed. I really like the style and color of my pinch pots. I have no regrets on what colors and style I chose and I cannot wait to further my experience with clay.
|
AuthorI love dogs almost as much as I love to travel. Archives
June 2021
Categories |


 RSS Feed
